5 Common Mistakes in Unity (And How to Fix Them)
Level up your game development skills by learning to spot and fix these common Unity errors.

I am a Unity C# developer, educator, and writer from Canada.
In today's post, I'll be discussing five common mistakes you might be making in Unity. As with any piece of software, there's a natural learning curve to Unity. Knowing how to recognize and repair common issues is a key part of development.
I've selected errors that are easy to fix for beginner developers.
Mistake #1: Mismatched data types
Like with any programming language, knowing your data types is super important. Use the wrong type, and your code may not compile correctly.
With Unity, you need to pay extra attention to public or serialized variables in the Inspector. Unity will tell you which type it expects to see. If you can't drag and drop anything into the exposed field, then you are probably using the wrong data type.
If this happens, double-check your code and make sure that the public variable matches the data type of your drag-and-drop asset.
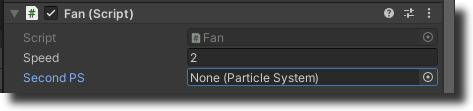 In this example, you can see the Particle System type is expected in the Inspector.
Mistake #2: Missing a namespace
Namespaces are collections of classes in C#. In your Unity project, you will need to use certain namespaces in order to access certain methods.
When you create a new C# script in Unity, it will include some namespaces, such as UnityEngine and Systems.Collections, by default. Depending on your project, you may need to add other namespaces manually.
For example, to use Text Mesh Pro elements, you need to use the TMPro namespace at the top of your script. UI elements such as images, text boxes, and sliders require the UnityEngine.UI namespace. And Scene management commands such as LoadScene() require the UnityEngine.SceneManagement namespace. The more you code with C#, the more comfortable you will become using namespaces in your project.
Visual Studio will usually let you know if you're missing a namespace but if you're ever in doubt, you can consult the Unity documentation.
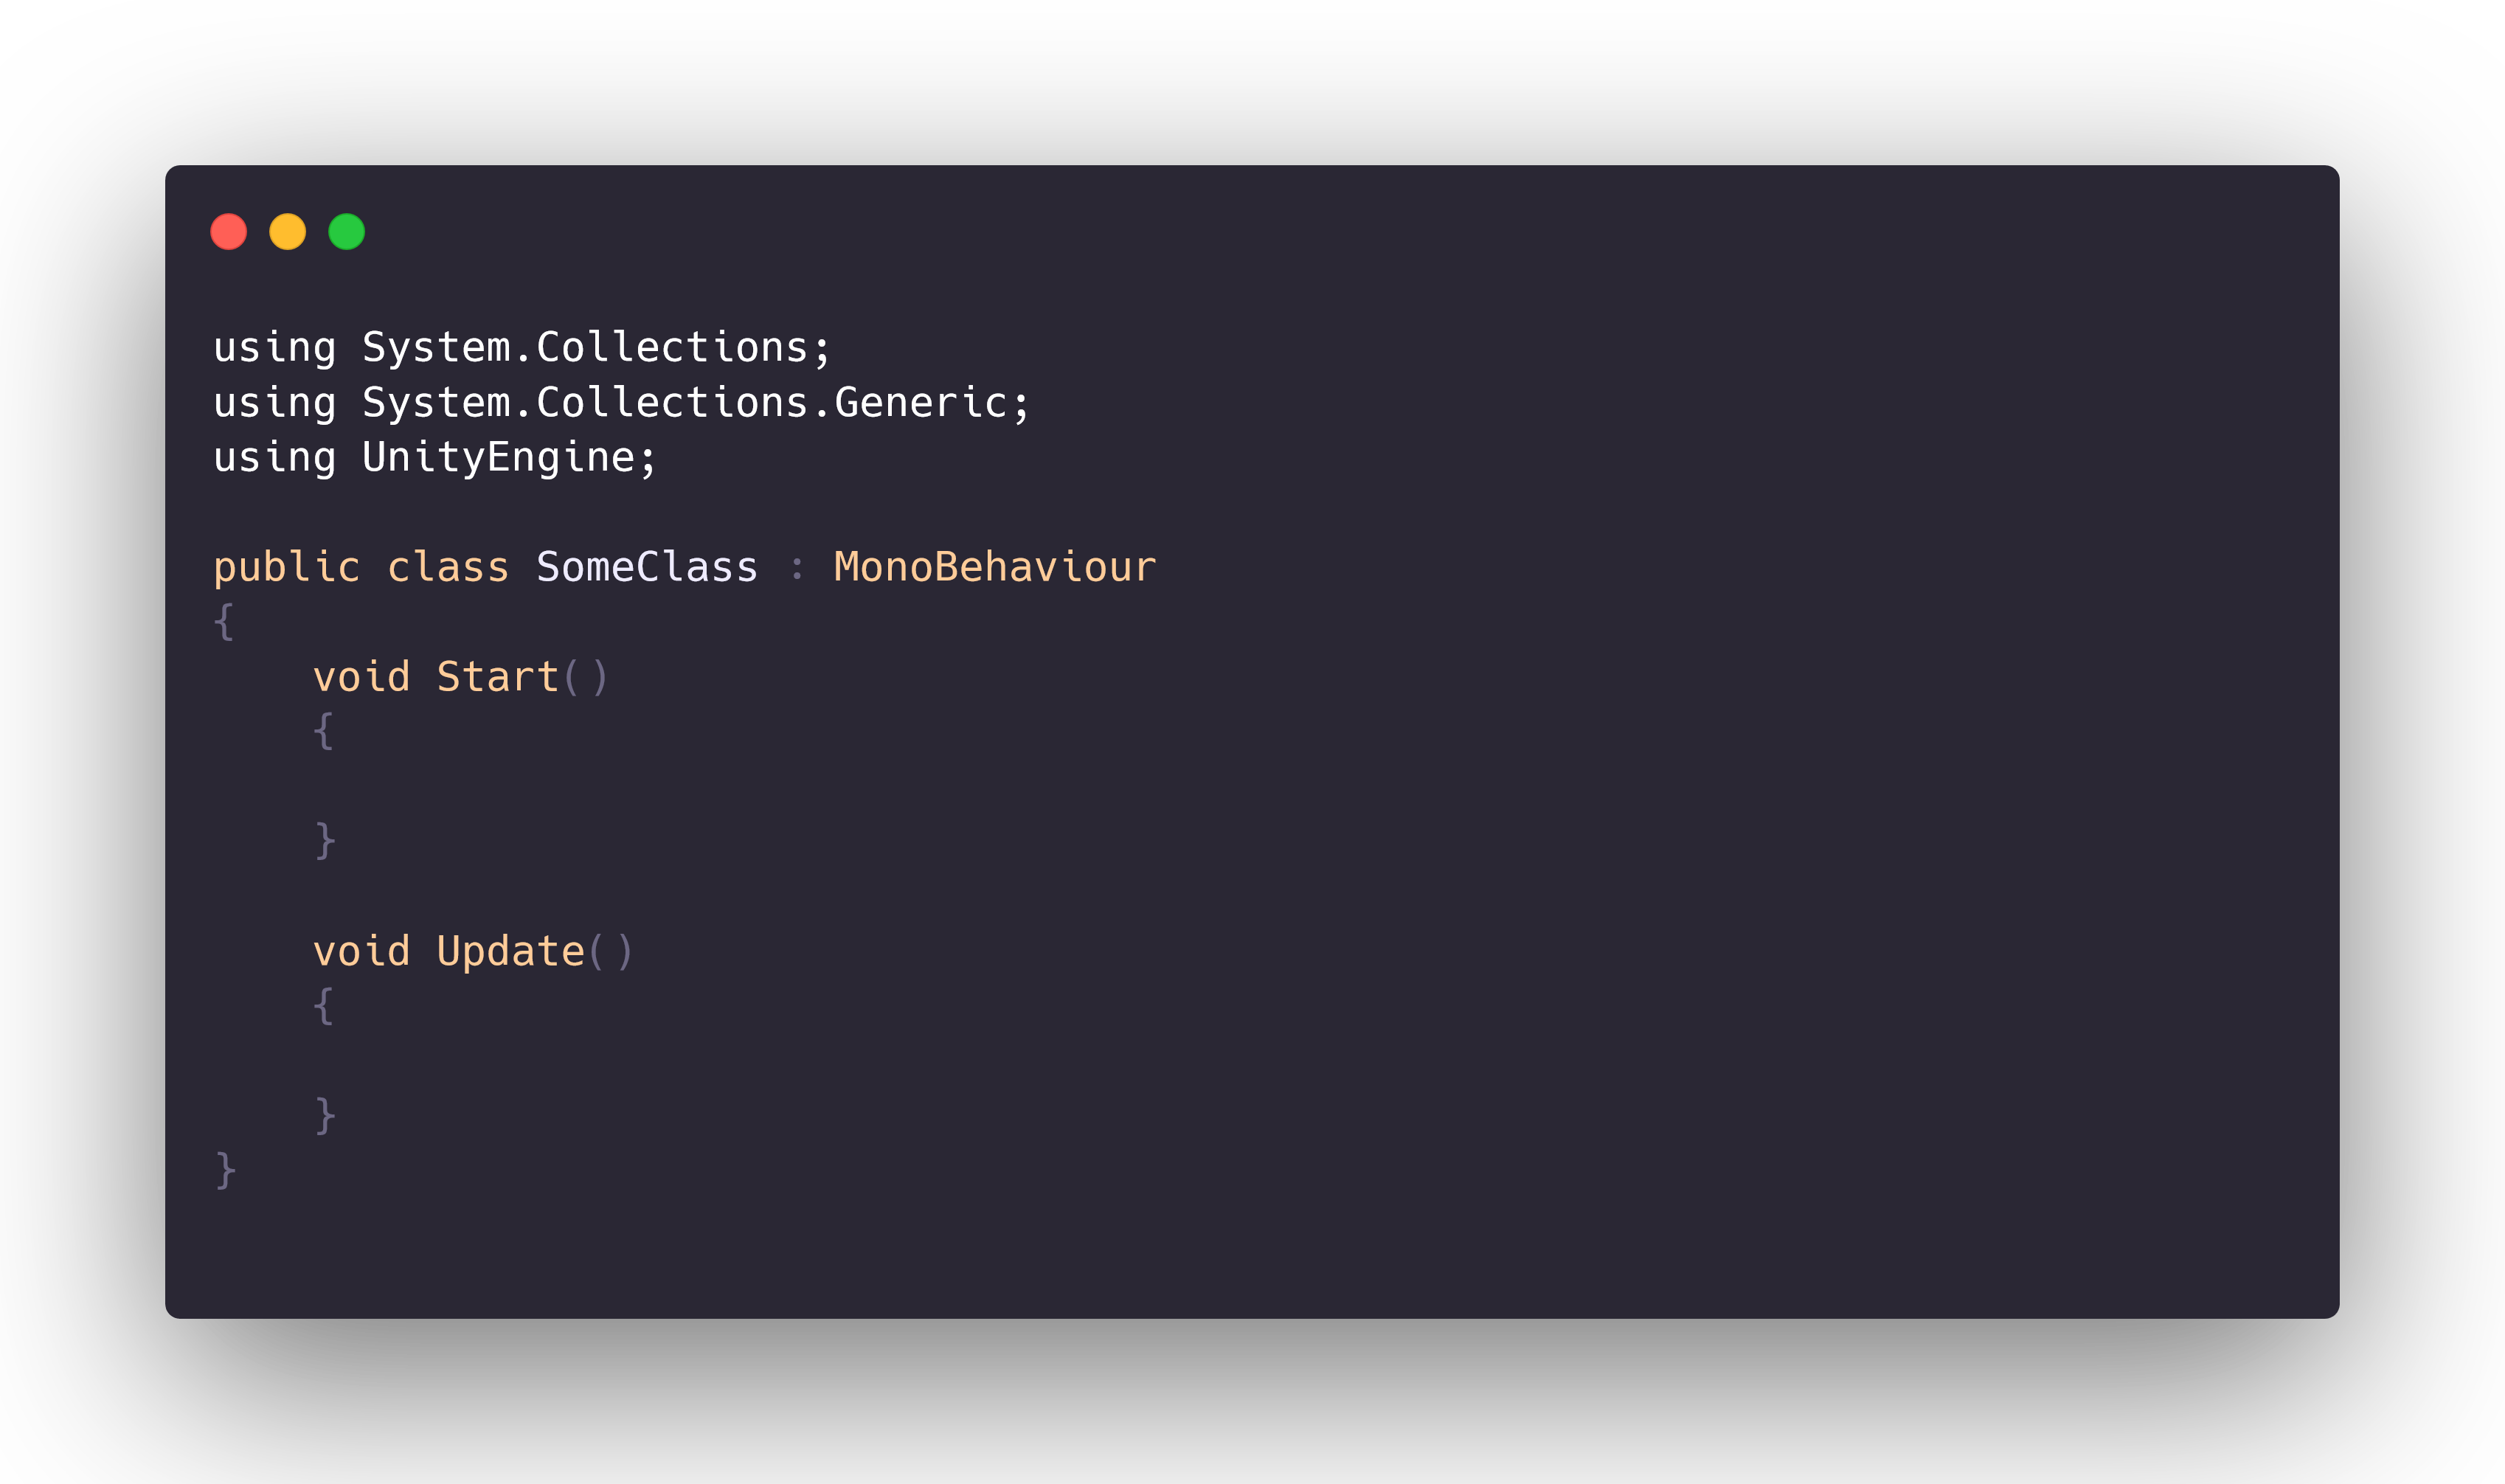 The default namespaces included in a new MonoBehaviour C# script.
Mistake #3: Forgetting to reset an object's Transform properties
When you create a new childed game object in the Hierarchy, it will automatically inherit the Transform properties of its parent object. This includes the parent object's rotation, position, and scale.
It's good practice to always reset the Transform of any new game object. Otherwise, your new object may appear in the wrong place in the scene or have an unintentional rotation and scale.
You can reset the Transform by first selecting the Game Object in the Hierarchy, right-clicking on its Transform component in the Inspector, and then selecting Reset. Get into the habit of doing this early to avoid any mishaps with your positioning and movement mechanics.
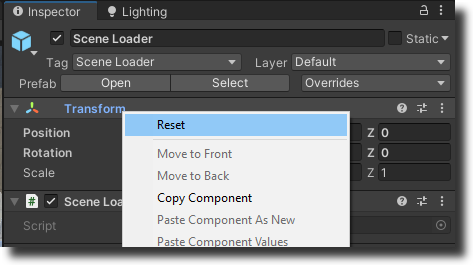 You can easily reset the Transform of any Game Object in the Hierarchy.
Mistake #4: Using the wrong tag or layer
Unity allows you to assign a label or tag to your Game Objects, either via the Inspector or through code. Tags provide a useful way to identify and manipulate Game Objects during runtime. For example, you can use GameObject.FindGameObjectWithTag() and pass in a string reference to find all Game Objects in the scene with a certain tag name.
Adding a tag or layer to a Game Object is easy to do via the Inspector. However, since tags and layers are string references, it is important to use the exact same spelling and capitalization in your tag or layer as in your code. Not referencing the correct layer or tag is an easy mistake to make in Unity.
Luckily, it's also an easy mistake to fix. Each time you introduce a new tag or layer, make sure to double-check the spelling and double-check whether each Game Object has the intended tag or layer in the Inspector.
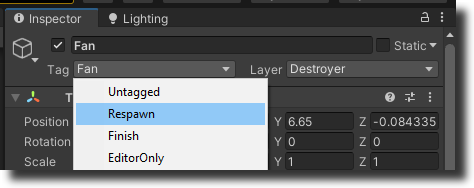 Once you define a new tag or layer, be sure to actually assign it to the Game Object. This is an easy thing to forget!
Mistake #5: Not adding a Scene to the Build Index
When developing in Unity, you may occasionally run across the following error message in the Console.
 The error message reads: "Scene 'Test' couldn't be loaded because it has not been added to the build settings or the AssetBundle has not been loaded.
This error occurs when you are trying to access a Scene via code that has not been added to the Build Settings.
To fix this issue, go to File>Build Settings. Here you will see a list of all the scenes included in your build. Drag and drop any scenes that are missing so that Build Settings contains a complete list of all scenes in your project.
Now when you try to use code such as SceneManagement.LoadScene(), your scenes should load correctly.
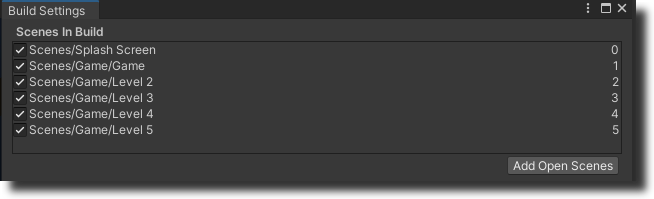 Build Settings contains a list of all scenes in the build as well as their index number.
Thanks for reading! If you enjoyed this article, please like, share, or follow. 💗 You can also reach me on Twitter or Instagram .